How to create a note template
When you generate a note inside Apollo Notes, you can choose from one of our pre-built templates. But what if you need something with a different structure? That’s where custom note templates come in.
Note templates can help you format documents to your specific requirements. You can add multiple sections to each template, and give each section a heading and a description. Templates also allow you to define custom instructions for the AI to follow while generating your note.
Let’s get started!
Open the templates section
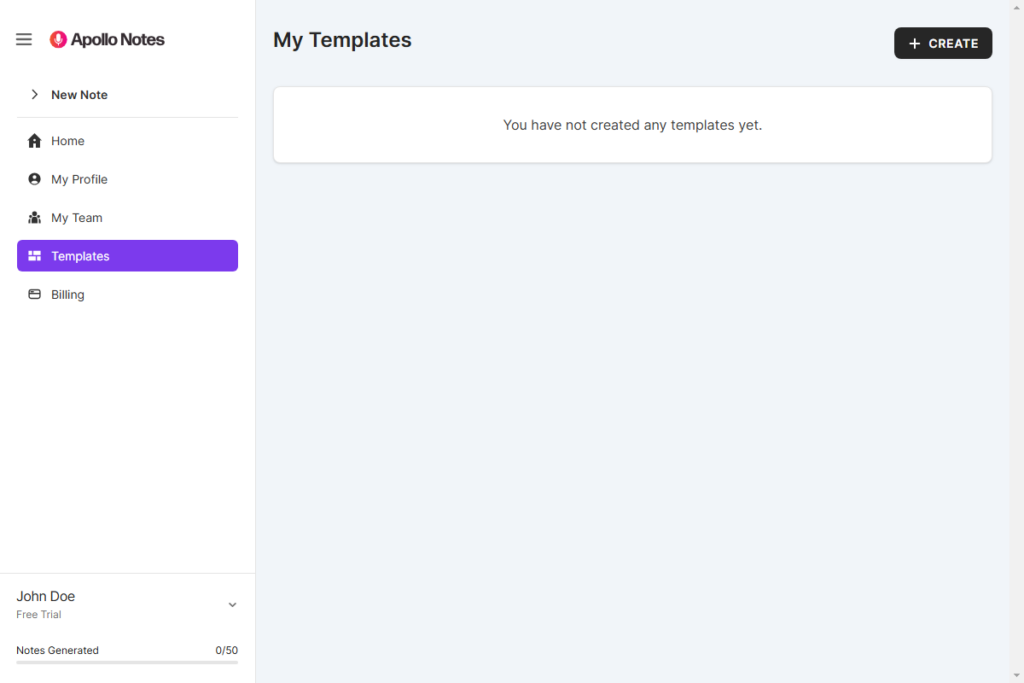
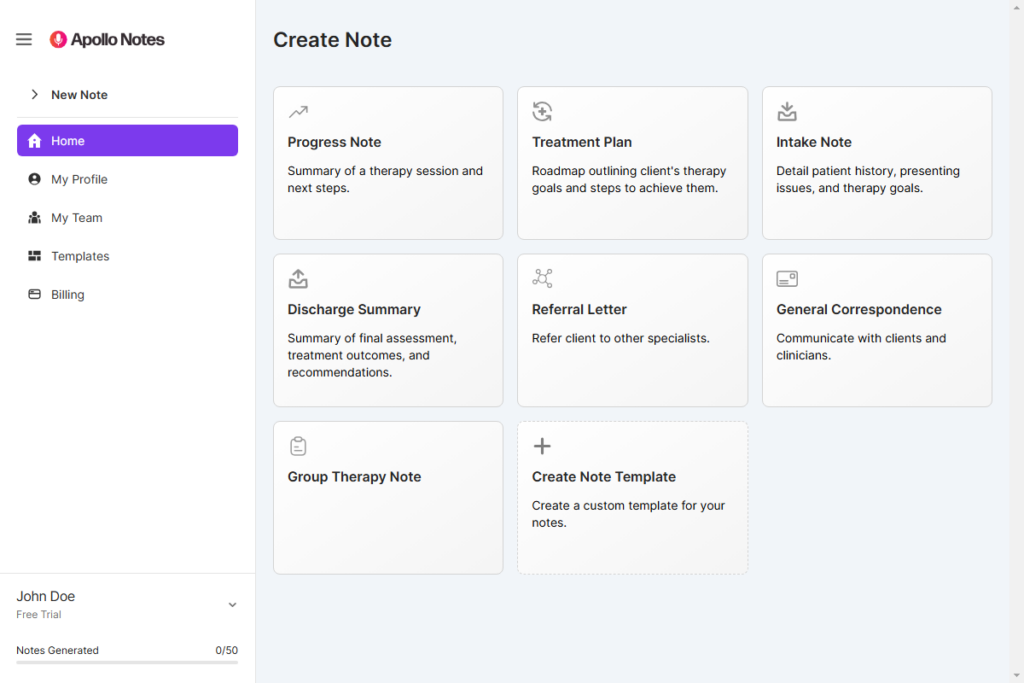
Select ‘Templates’ from the main menu, which will open the templates screen.
Create a new template
Click the ‘Create’ button, and you’ll see the ‘Create Note Template’ page.
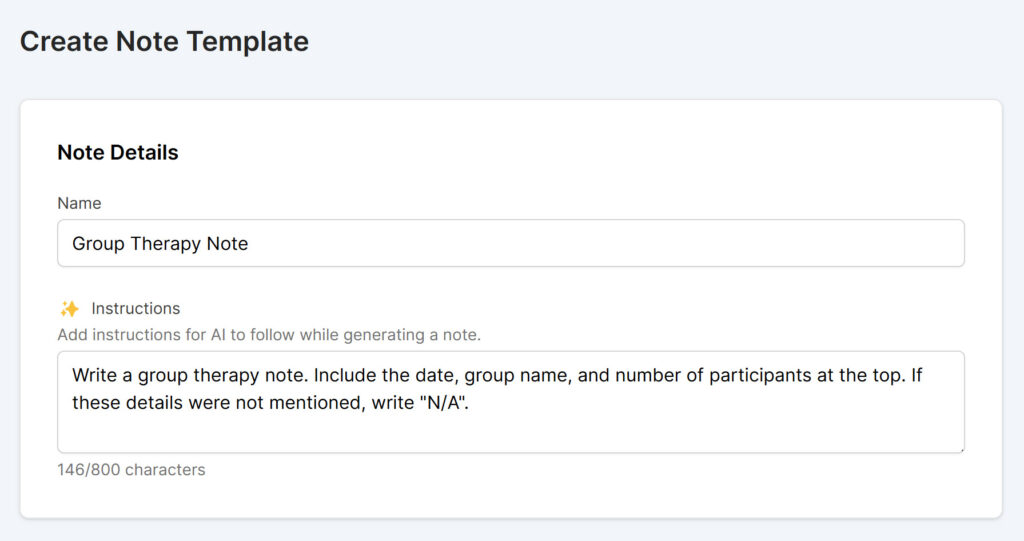
Enter a name for your new template. This name will be shown on the Dashboard, as well as printed in the title of any PDFs generated with this template. For this example, we will use the title “Group Therapy Note”.
Add the instructions
Next, add some instructions that will be passed to the AI. This will explain what kind of note you want, along with any specific details. These instructions should be written in a clear and concise manner. Keep in mind that instructions which are long and complex may confuse the AI, and reduce the quality of the generated note.
Some example instructions for our group therapy note are:
- Write a group therapy note for an individual. Include the date, group name, and number of participants at the top. If these details were not mentioned, write “N/A”.
Notice that in this example we’ve also defined what happens when some details were not mentioned in the recording. This is due to how large language models (LLMs) work. LLMs will sometimes make up details that are not clear to it (also known as “hallucination”). If we give it an alternative (i.e “Write N/A”), it will output that instead, thus improving the note’s accuracy.
Add the sections
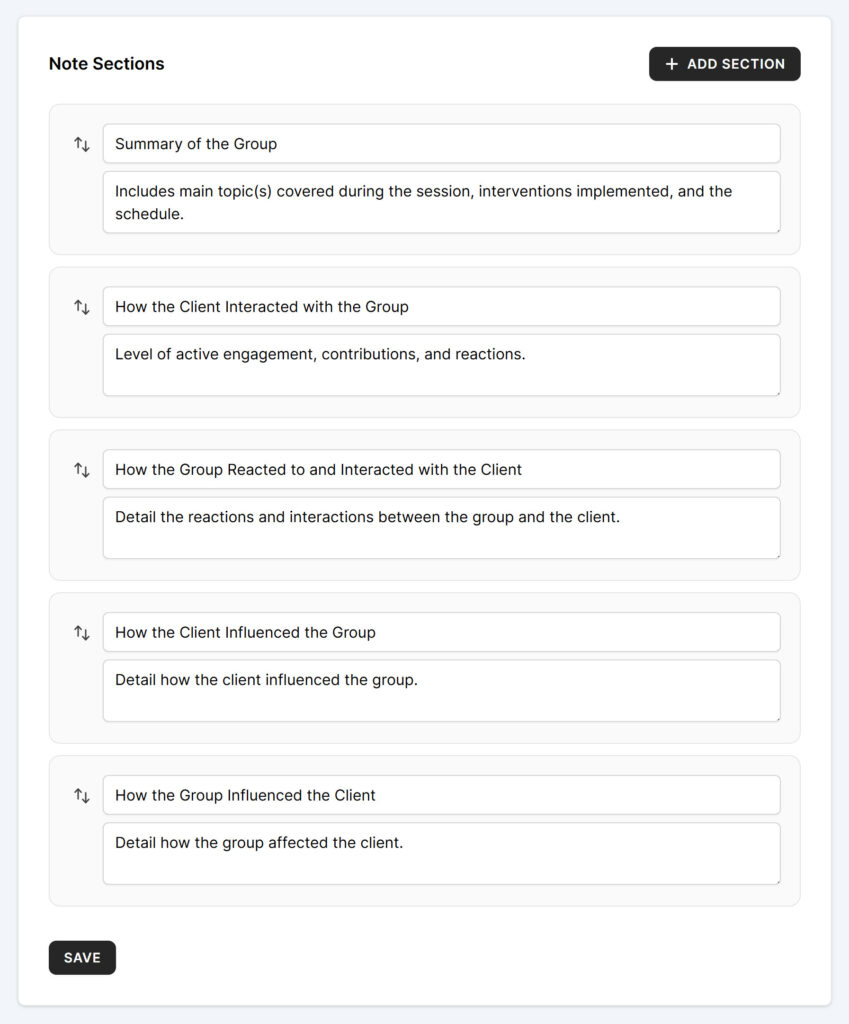
Now we can add the various sections for our Group Therapy Note. Click ‘Add Section’ and fill in the headings and description for each section. These will appear when you are recording your note, and will also be passed to the AI to guide it on what to include in each section.
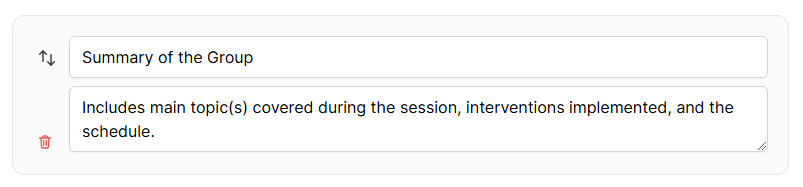
To move a section, click and hold the reorder button and drag it to the desired position. You can also remove a section by hovering over it and clicking the trash icon.
Once you are finished, click Save.
Your new template will now be available in the Templates section, and also as a tile on the Dashboard.
You’re now ready to start using your template to generate notes. It’s recommended to test your template a few times using different scenarios to ensure it’s working as expected.